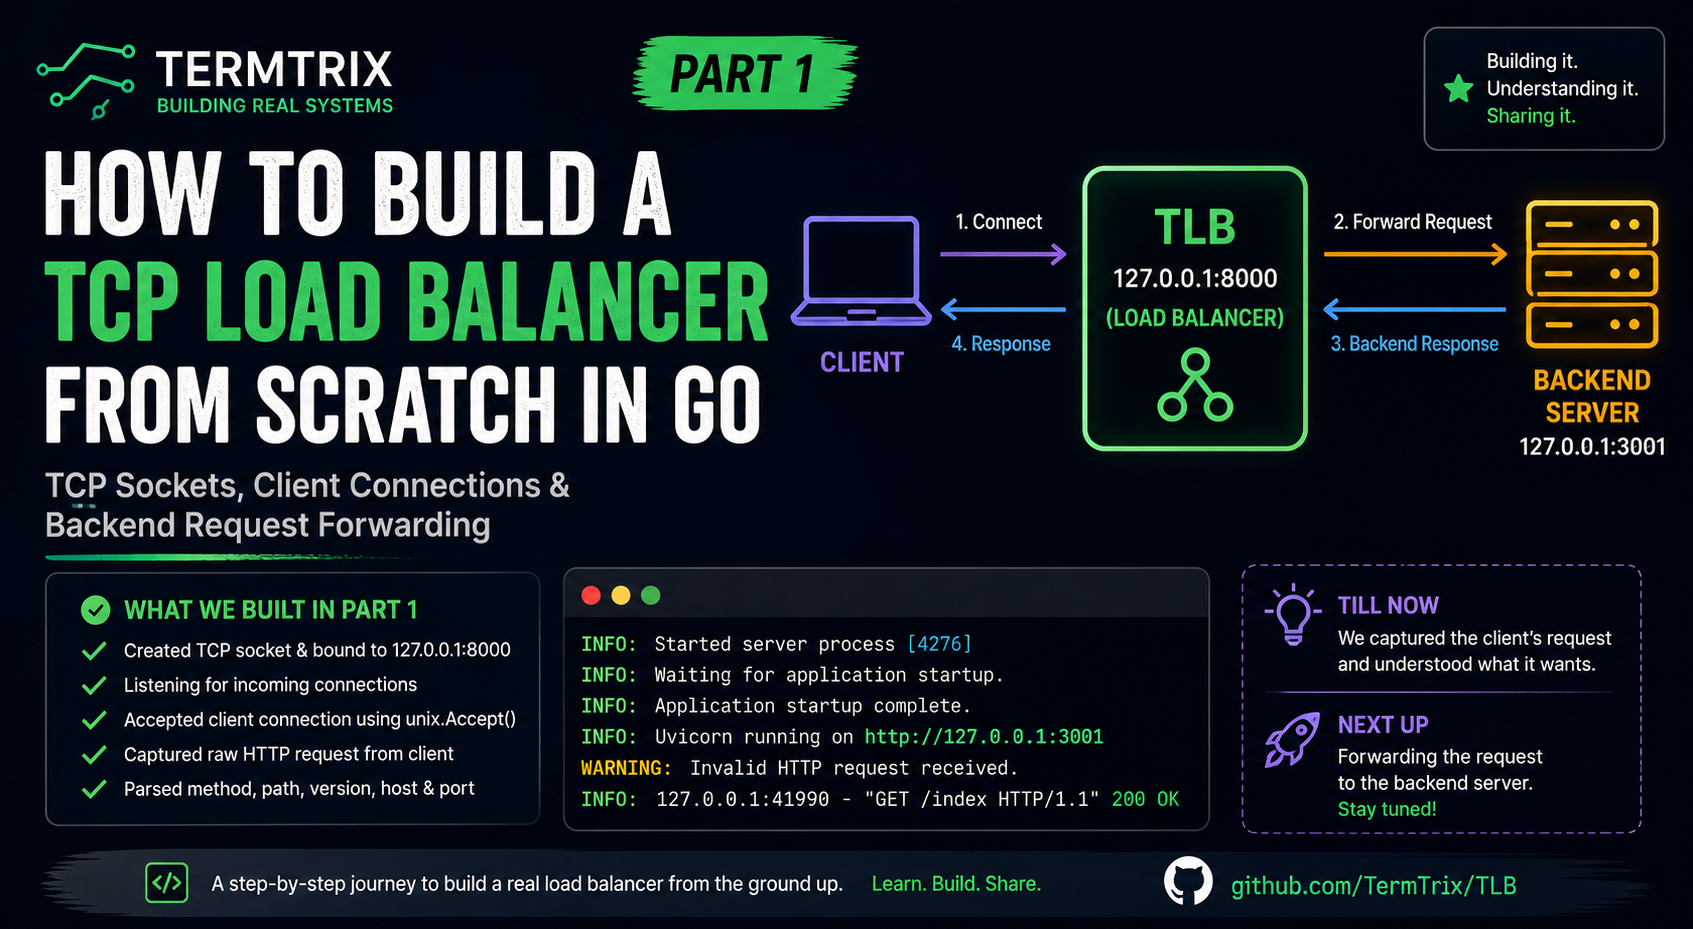
Why Build a Load Balancer from Scratch?
Everyone can explain what a load balancer is.
You'll find plenty of explanations saying:
"A load balancer distributes incoming traffic across multiple backend servers."
That's correct - but it doesn't explain what actually happens behind the scenes.
What happens when a client connects to the load balancer?
- How does the load balancer accept the TCP connection?
- How does it read the request?
- How does it establish another connection with a backend server?
- How does it forward the request?
- How does the response travel back to the original client?
These are the parts that are often hidden behind high-level tools and libraries.
So, instead of simply using an existing load balancer, I decided to build TERMTRIX Load Balancer (TLB) from scratch using Go and low-level TCP sockets.
The goal is not to build a production-ready replacement for Nginx or HAProxy. The goal is to understand the networking mechanics and internal request flow that make a load balancer work.
What We Are Building
The initial architecture is intentionally simple:
                     TERMTRIX LOAD BALANCER
                              │
                              │
                         127.0.0.1:8000
                              │
                    ┌─────────▼─────────┐
                    │       TLB         │
                    │   TCP Socket      │
                    │                   │
                    │ Accept Connection │
                    │ Read Request      │
                    │ Forward Request   │
                    └─────────┬─────────┘
                              │
                              │ TCP Connection
                              │
                              ▼
                     ┌─────────────────┐
                     │  Backend Server │
                     │ 127.0.0.1:3001  │
                     └─────────────────┘
                              │
                              │ Response
                              ▼
                         TLB :8000
                              │
                              │ Response
                              ▼
                            Client
At this stage, there is only one backend server.
The request flow is:
Client
   │
   │ 1. TCP connection
   ▼
TLB :8000
   │
   │ 2. Read request
   │
   │ 3. Connect to backend
   ▼
Backend :3001
   │
   │ 4. Process request
   │
   │ 5. Send response
   ▼
TLB
   │
   │ 6. Send response
   ▼
Client
This simple architecture gives us a foundation to understand the more complex parts later.
TERMTRIX TLB Project Goal
The goal of TERMTRIX Load Balancer (TLB) is to learn how a load balancer works from the network layer upward.
Instead of hiding the implementation behind a framework, we'll progressively build each component ourselves:
TCP Socket
    ↓
Bind
    ↓
Listen
    ↓
Accept Client
    ↓
Read Request
    ↓
Parse Request
    ↓
Connect to Backend
    ↓
Forward Request
    ↓
Read Backend Response
    ↓
Send Response to Client
Creating a TCP Socket in Go
The first step is to create a socket that our load balancer can use to communicate over the network.
A socket acts as an endpoint for network communication. When we create one, the Linux kernel creates and manages the underlying socket, and our application receives a file descriptor (FD) that we can use for operations such as bind, listen, accept, read, and write.
For TLB, we're using IPv4 and a TCP-style byte stream:
fd, err := unix.Socket(
    unix.AF_INET,     // IPv4
    unix.SOCK_STREAM,  // Stream socket
    0,                 // Let the kernel choose the protocol
)
What is a File Descriptor?
A file descriptor (FD) is a non-negative integer that the operating system gives a process to identify an open I/O resource.
In Linux, many things are accessed through file descriptors, including:
- Files
- Sockets
- Pipes
- Terminals
In our TLB, the socket returned by unix.Socket() is represented by an FD.
For example:
fd = 3
Binding the Socket
Once our socket is created, the next step is to bind it to the IP address and port where we want TLB to receive incoming connections.
For our load balancer, we'll use:
127.0.0.1:8000
We can do this using unix.Bind():
addr := &unix.SockaddrInet4{
    Port: 8000,
}
copy(addr.Addr[:], net.ParseIP("127.0.0.1").To4())
err := unix.Bind(fd, addr)
Here:
127.0.0.1→ the IP address where TLB will accept connections8000→ the port where clients will connectfd→ the socket we created earlier
But there is an important point: we're not listening yet.
Bind() only tells the operating system:
"Associate this socket with 127.0.0.1:8000."
It does not mean the socket is ready to accept incoming connections.
That's where the next step comes in: unix.Listen().
Putting the Socket into Listening Mode
Once the socket is created and bound to 127.0.0.1:8000, we need to tell the operating system:
"This socket is ready to accept incoming connections."
We do that using:
unix.Listen(fd, 2048)
The 2048 is called the backlog. It specifies how many incoming connections can wait in the connection queue while the server is busy handling existing connections.
Client → TLB :8000
             ↓
        Connection Queue
             ↓
          Accept()
For our TLB, we use:
unix.Listen(fd, 2048)
Now the socket is listening for clients.
Accepting a Client Connection
After creating, binding, and listening on our socket, the next step is to accept incoming client connections.
We use unix.Accept() for this.
clientFD, clientAddr, err := unix.Accept(fd)
if err != nil {
    fmt.Println("accept error:", err)
    return
}
fmt.Println("Client FD:", clientFD)
fmt.Println("Client Address:", clientAddr)
Here, fd is the listening socket we created earlier:
fd, err := unix.Socket(
    unix.AF_INET,
    unix.SOCK_STREAM,
    0,
)
Listening FD vs Client FD
It's important to understand that these are two different file descriptors.
TLB :8000
                 │
        Listening FD = 3
                 │
             Accept()
                 │
        ┌────────┴────────┐
        ▼                 ▼
   Client FD = 5     Client FD = 6
    Client A           Client B
The listening FD is responsible for accepting new connections.
The client FD represents an actual TCP connection with a specific client.
For example, you might see:
Listening FD: 3
Client connected
Client FD: 5
Client Address: 127.0.0.1:54321
If another client connects:
Listening FD: 3
Client connected
Client FD: 6
Client Address: 127.0.0.1:54322
Notice that the listening FD remains 3, while each accepted connection gets its own FD.
What Does Accept() Actually Return?
clientFD, clientAddr, err := unix.Accept(fd)
It returns three things:
clientFD
   ↓
The new file descriptor used to communicate
with this particular client.

clientAddr
   ↓
The client's network address.

err
   ↓
Whether accepting the connection succeeded.
So when the browser requests:
http://127.0.0.1:8000/index
your TLB might print:
Listening FD: 3
Client connected
Client FD: 5
Client Address: 127.0.0.1:41990
Now FD 5 is the connection you use to communicate with that browser:
unix.Recvfrom(clientFD, buff, 0)
and later:
unix.Write(clientFD, response)
While FD 3 continues listening for the next client.
That's the key idea:
Accept()does not give you another listening socket. It gives you a new socket dedicated to communicating with the connected client.
What's Next?
At this point, we've built the first part of the flow:
Client
   ↓
TLB :8000
   ↓
Accept connection
   ↓
Read & parse request
We can now capture the incoming client's request and understand what the client is asking for.
But TLB isn't useful if it only receives the request. 😄
The next challenge is:
How do we take those request bytes and forward them to our backend server?
That's where we'll continue in the next update.
Coming next: ➡️ Forwarding the Client Request to the Backend Server 🚀